Installation Wizard
When ownCloud prerequisites are fulfilled and all ownCloud files are installed on the server, the last thing left to do for finishing the installation is running the Installation Wizard.
- Open your web browser
- Navigate to your ownCloud instance.
- If you are installing ownCloud on the same machine as you are accessing the install wizard from, the url will be https://localhost/owncloud
- If you are installing ownCloud on a different machine, you’ll have to access it by its hostname or IP address, e.g. https://example.com/owncloud
- Please take notice of the note at the end of the site if you’re accessing your ownCloud instance via a different IP address or host name during setup than your users are going to use later on (or if your ownCloud instance should be accessible via more than one host name or IP address).
- If you are using a self-signed certificate, you will be presented with a security warning about the issuer of the certificate not being trusted which you can ignore.
- You will be presented with the setup screen:
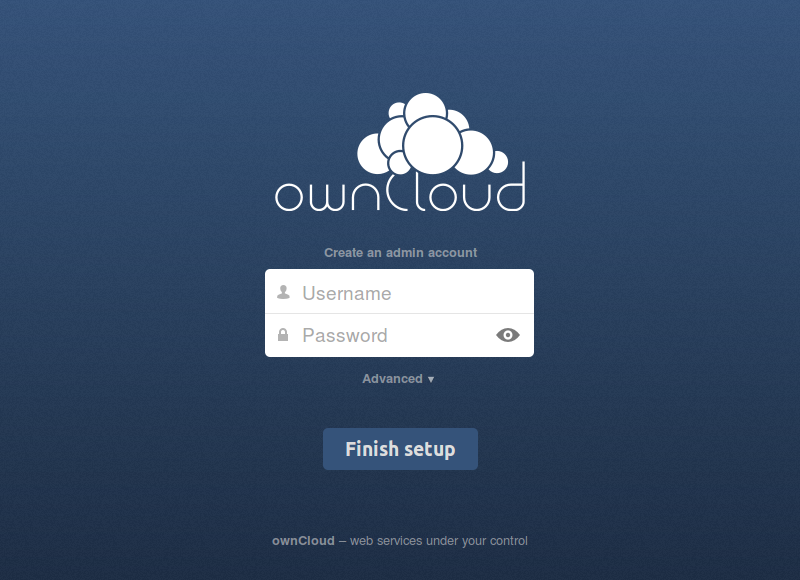
Required Settings
Under “create an admin account” you are requested to enter a username and password for the administrative user account. You can choose any username and password as you see fit, just make sure to remember it, you will need it later whenever you want to configure something for your ownCloud instance.
Advanced Options
- Advanced settings are available for configuring a different database or data directory than the default ones.
- If you are not using Apache as the web server, it is highly recommended to configure the data directory to a location outside of the document root. Otherwise all user data is potentially publicly visible!
- Show these additional options by clicking on “Advanced”:
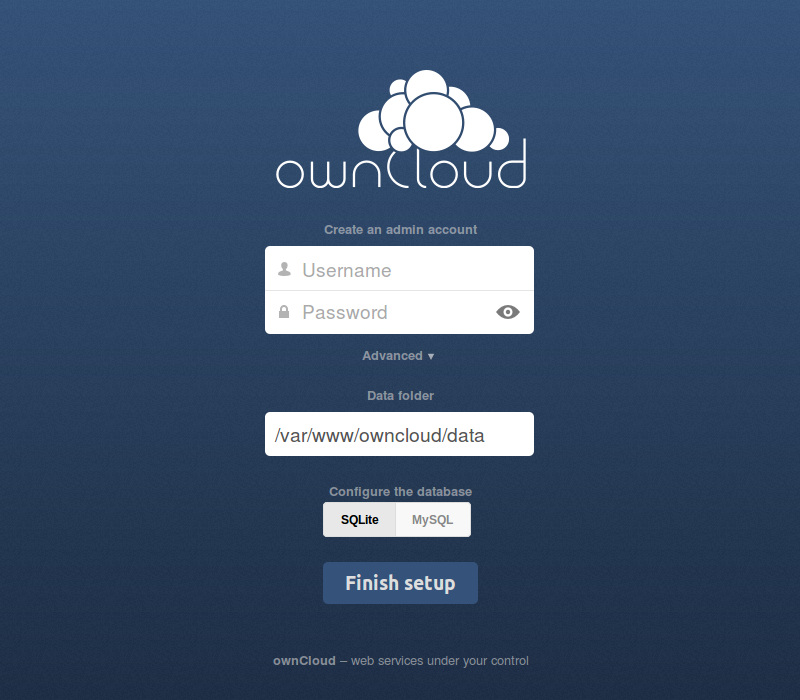
Database choice
- For a guideline on which database system to choose, and on pointers how to set them up for being available for php/ownCloud, see Database Configuration
- Note that you will only be able to choose among the PHP database connectors which are actually installed on the system.
- It is not easily possible to migrate to another database system once you have set up your ownCloud to use a specific one. So make sure to carefully consider which database system to use.
- When using MySQL or PostgreSQL you have two options regarding the database
name and user account you specify:
- You can specify either an admin/root user, and the name of a database
which does not yet exist. This lets ownCloud create its own database; it
will also create a database user account with restricted rights (with the
same username as you specified for the administrative user, plus an
oc_ prefix) and will use that for all subsequent database access.
- Beware that there are restrictions as to what characters a database name may or may not contain, see the MySQL Schema Object Names documentation for details);
- Make sure to choose a name under which no database exists yet
- ownCloud will use the provided credentials and create its own user with permissions only on its own database.
- You can enter the name of an existing database and the username/password
of a user with permissions restricted to this one database only
- You can create such a user yourself, e.g. via phpmyadmin.
- This user shouldn’t have permission to create a database.
- It should have full permissions on the (existing) database with the name you specify.
- You can specify either an admin/root user, and the name of a database
which does not yet exist. This lets ownCloud create its own database; it
will also create a database user account with restricted rights (with the
same username as you specified for the administrative user, plus an
oc_ prefix) and will use that for all subsequent database access.
Finish Installation
- Once you’ve entered all settings, press “Finish Setup”
- ownCloud will set up your cloud according to the given settings
- When its finished, it will log you in as administrative user and present the “Welcome to ownCloud” screen.
Note
ownCloud will take the URL used to access the Installation Wizard and insert that into the config.php file for the ‘trusted_domains’ setting. All needed domain names of the owncloud server go into the ‘trusted_domains’ setting. No domain names of clients go there.
Users will only be able to log into ownCloud when they point their browsers to a domain name listed in the ‘trusted_domains’ setting. An IPv4 address can be specified instead of a domain name.
In the event that a load balancer is in place, there will be no issues, as long as it sends the correct X-Forwarded-Host header.
It should be noted that the loopback address, ‘127.0.0.1’, is whitelisted and therefore users on the ownCloud server who access ownCloud with the loopback interface will be able to successfully login. In the event that an improper URL is used, the following error will appear:
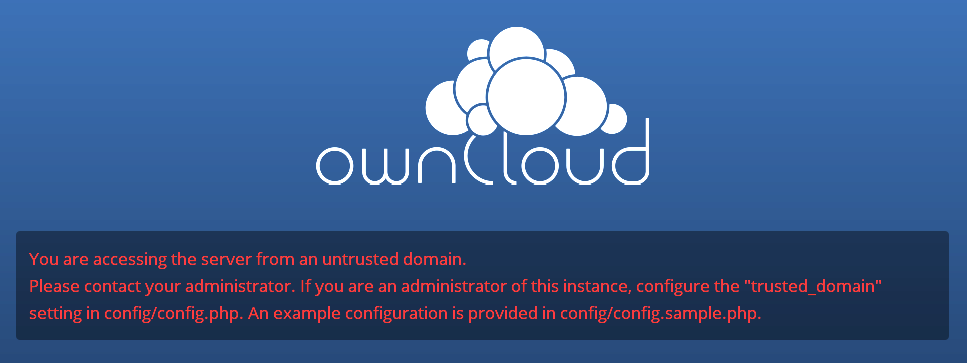
For configuration examples, refer to the config/config.sample.php document.